Hello everyone, in the previous article we see Client-Side Web Part using SharePoint Framework (SPFx) now in this article, we will discuss deployment and package building solution process.
Deployment Scope
Before we deploy SPFx web part in SharePoint we need to choose deployment scope. There are two options are available in SharePoint are they
- Tenant scope
- Site Collection scope
Tenant scope
Tenant scope allows to a deployment of SharePoint framework packages across in SharePoint online tenant and SharePoint 2016 Farm. A tenant admin is responsible for creating an app catalog site collection and we can create it once. An app catalog site collection makes all apps available for across all site collection under tenant scope. In this scope, tenant admin has the choice to make your web part available to all site collections immediately or instead require a site owner to add the web part on pages.
Site Collection scope
Site collection scope allows to a deployment of SharePoint framework packages in a respective site collection and its sites/subsites. While tenant admin delegates the access to other people in the organization, once this feature enable by tenant admin then site collection admin have permission to deploy package solution, that will be available only in that particular site collection.
Note: SharePoint does not support the way of deploying add-ins and SharePoint Framework solutions only to specific sites.
Reference links:
Set up configuration Office 365 tenant app catalog site
Set up configuration Site collection app catalog
Steps of deployment of SPFx solution in SharePoint page
Once we decide a deployment scope next step is packaging and deploying SPFx on a page. Here in my case, I use Tenant scope so now lets start for deploying.
-
- Launch the console window and set console path to our SPFx web part directory. If Yeoman server is running on a console you have to stop it by Ctrl+C command followed by Y.

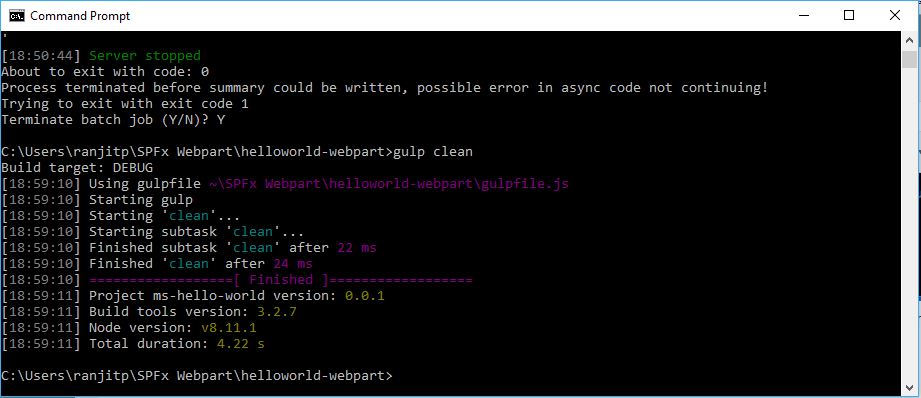
- gulp clean command: This command clean the project deployment file .sppkg which is present in folder sharepoint under project directory and also creates debug solution file.
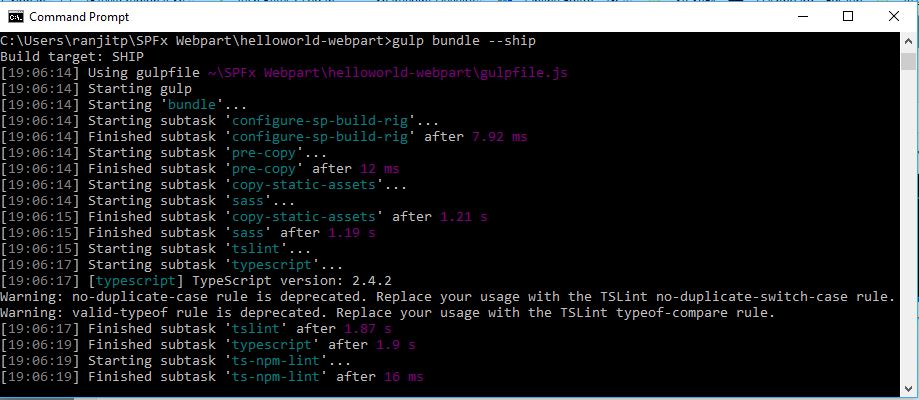
- gulp bundle –ship command: This command help to create minified files for build the solution and also generate debug bundle under dest folder. This builds the minified assets required to upload to the CDN provider. The minified assets can be found under the temp\deploy directory.
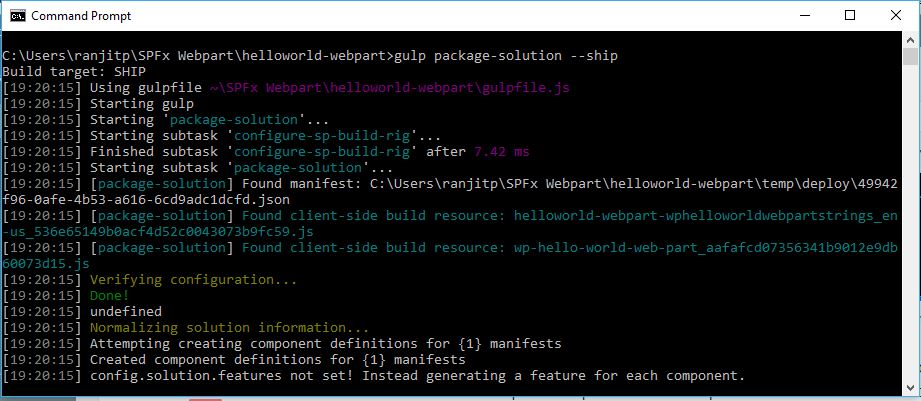
- gulp package-solution –ship command: This creates the updated client-side solution package in the sharepoint\solution folder. Created file: sharepoint\solution\ms-hello-world.sppkg
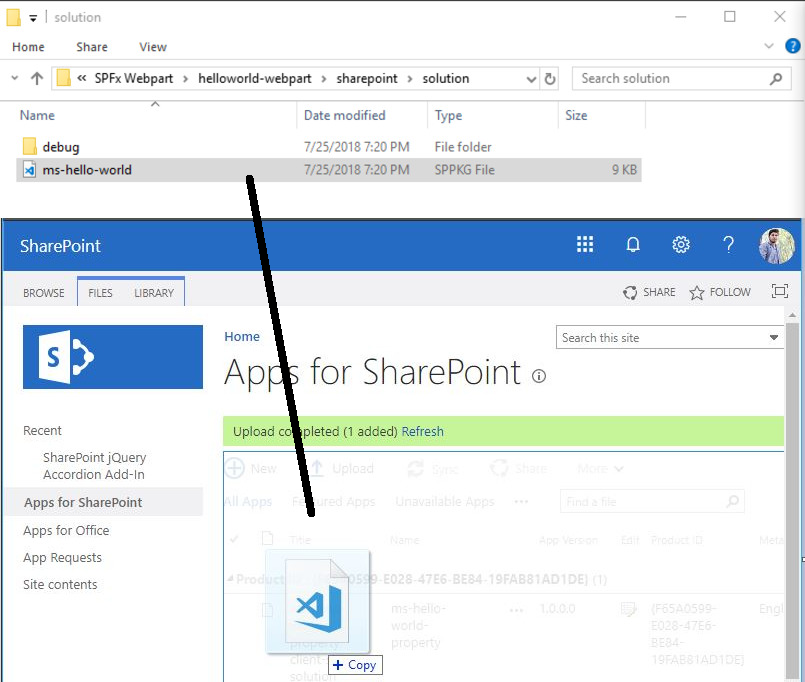
- Now upload or drag an drop solution package file from sharepoint\solution\ms-hello-world.sppkg to App for sharePoint library in app catalog site.
- Once our SPFx web part package has finished uploading, we will be prompted with a dialog window to complete the deployment. This is where you will choose whether to deploy to all sites within your tenant or to all subsites within your site collection. Make your selection and then click the Deploy button.
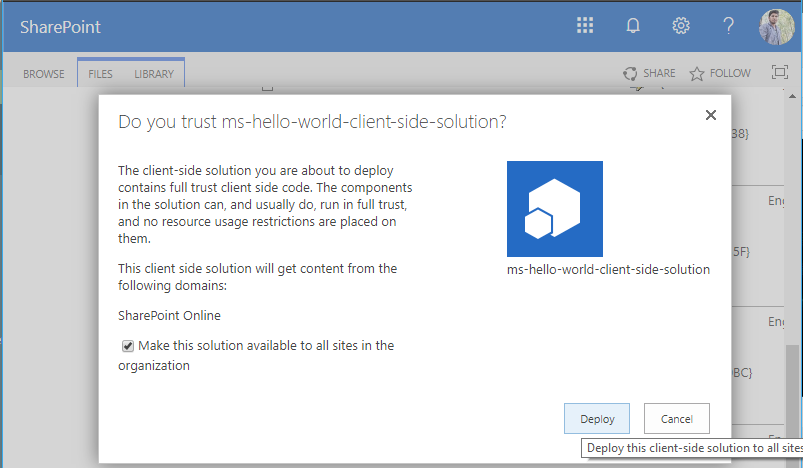
- We have deploy our Hello World SPFx web part. Now we need to add it on modern SharePoint site page.
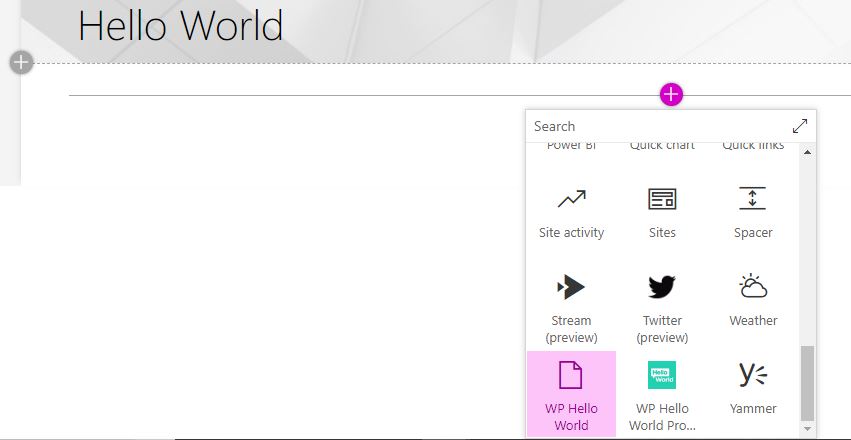
From + Add a new web part icon we select our WP Hello World web part and save it.

- Launch the console window and set console path to our SPFx web part directory. If Yeoman server is running on a console you have to stop it by Ctrl+C command followed by Y.
Note: In case we did not select “Make this solution available to all sites in the organization”, we would first have to add SPFx web part to respective site and then we add on page.
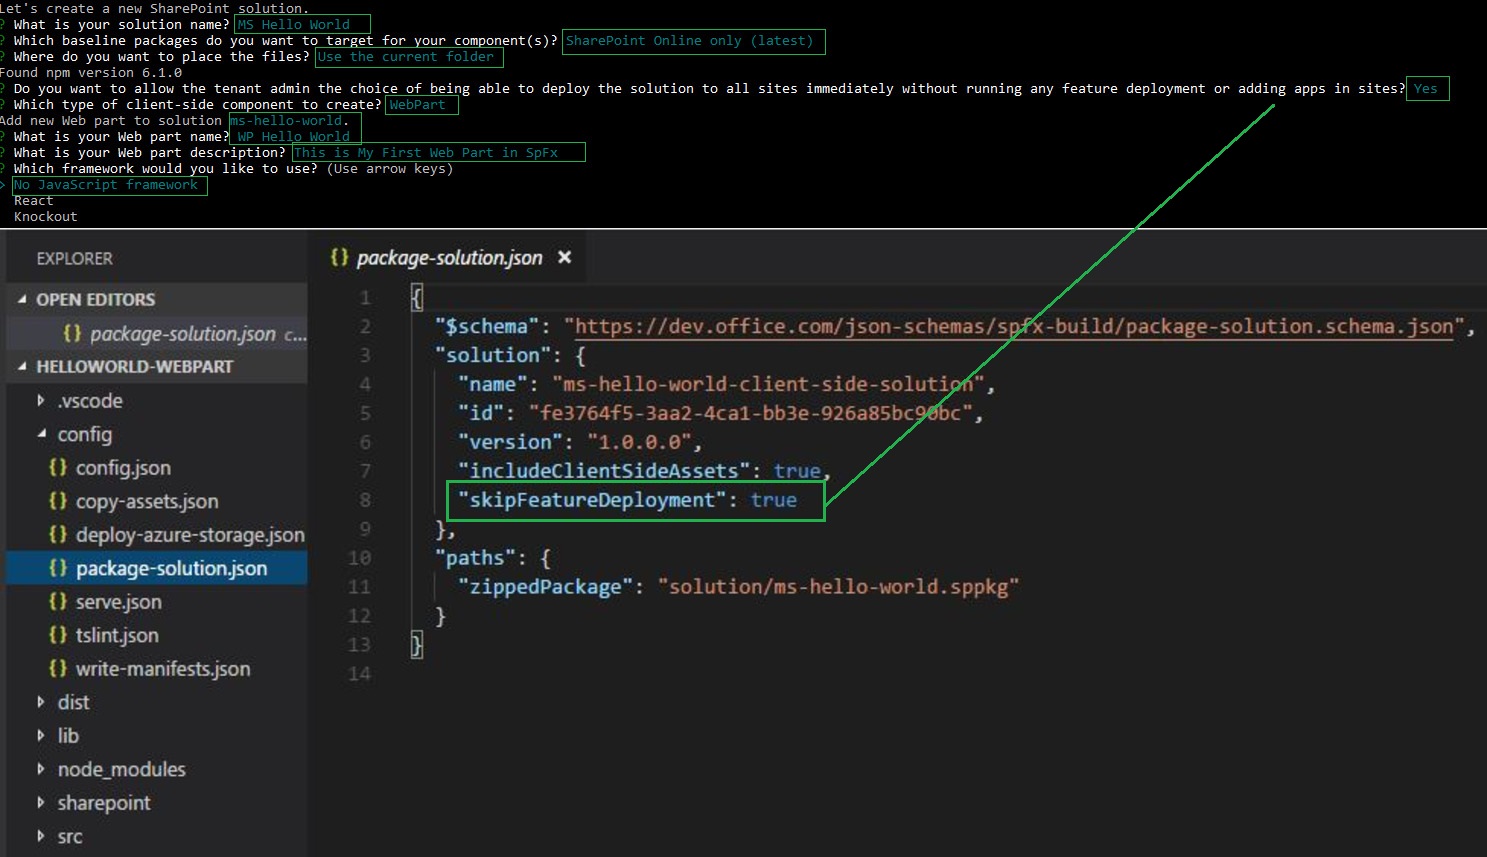
On SPFx web part creation SharePoint Youmen Generator will ask “if you would like to allow the tenant admin the ability to deploy the solution to all sites.” If we say Y yes then skipFeatureDeployment property set to true in the package-solution.json file. We also manually set this property from package-solution.json file.
Reference:
