Hello everyone, in this post, I will explain how to setup and configure Audience Targeting in SharePoint but before that we need a basic understand of terminology “Audience Targeting?”.
A SharePoint Audience is a dynamically-defined group of Users. Each SharePoint Audience has set of rules based on permission. This is useful when you want to present content that is relevant only to a particular group of people.
For example, you have a navigational link on your portal that you only want the people in your Finance department to see. You can create the link in the Quick Launch bar and then configure the Audience for Finance Department. Now, people in other departments won’t be able to see the link but it will be visible to everyone in the Finance department.
Types of Content That can be Targeted
You can target the following types of content:
- Navigation Links
These can be links in Quick Launch bar or Top Link bar. You must have at least Contribute permission level to add, modify or delete navigation links. - Web Parts
Several Web parts support audience targeting. You must have at least Contribute permission level to add, modify or delete Web parts. - List and Library Items
You must have at least Contribute permission level to configure the audience targeting.
Any item in a SharePoint list or library can be targeted to specific audiences.
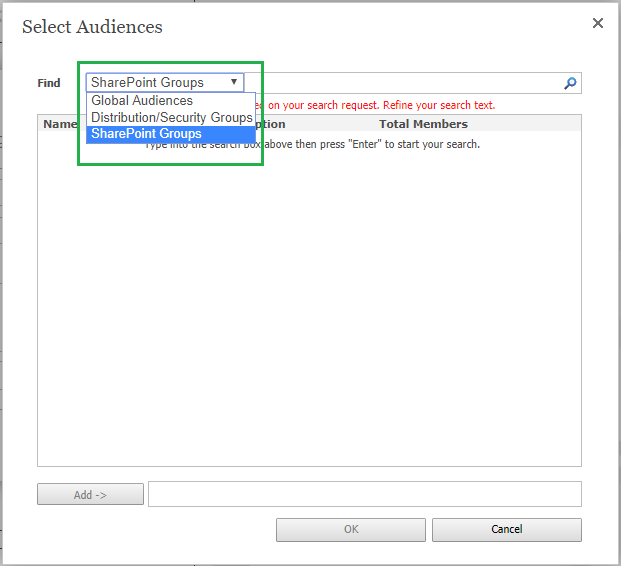
To identify a target audience, we can use one or more of the following:
-
SharePoint groups: A collection of users and groups, managed and stored in SharePoint. Usually administered by a SharePoint Site Owner (Site Admin).
-
Distribution list / Security groups: A collection of users and groups created, managed and stored in Active Directory by selecting group type. Usually administered by an IT person. See article on Distribution list / Security.
-
Global Audiences: Global Audiences are dynamically created based on a set of rules. If users meet the audience criteria they will automatically become a member of the audience. Audiences can be compiled regularly using a background SharePoint job.
To audience targeting, you need to activate the publishing feature at site collection level so that you can achieve audience targeting.
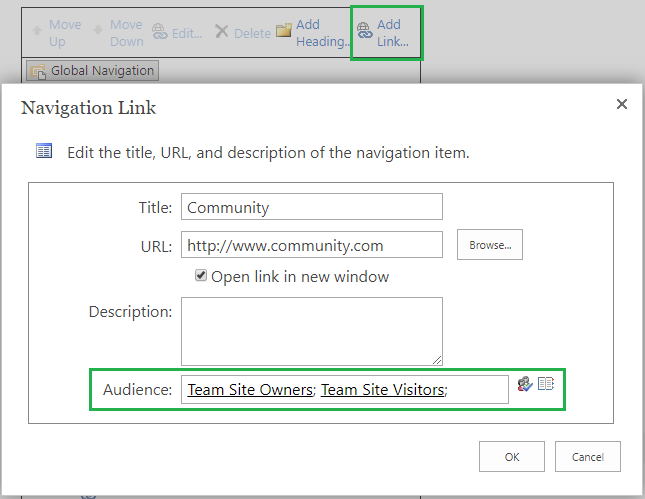
Target navigation links to an audience
Targeting navigation links to a specific audience requires two steps:
- Go to Site Setting page under look and feel section click on Navigation
- Now click on Add link and add site links by specifying audience.
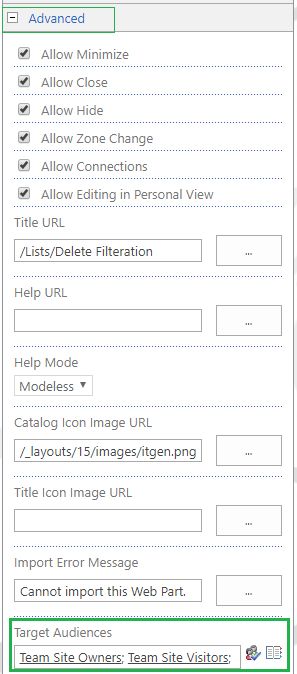
Target web parts to an audience
We also specify target audience to web part by setting “Target Audience” setting under Advanced section see in below screenshot.
Target list or library items to an audience
Targeting items from a list or library to a specific audience requires three steps:
-
- Enable audience targeting on the list or library
When you enable audience targeting on a list or library, you can target each item in the list or library to an audience.- Click the list or library that contains the item you want to target.
- For SharePoint Online, click Settings, and click List Settings or Document Library Settings.
- Under General Settings, click Audience targeting settings.

- Select the Enable audience targeting check box.

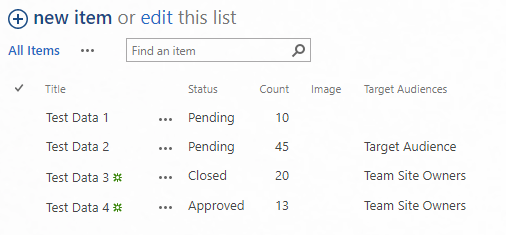
Note: If the SharePoint list or library already is enabled for audience targeting, the Target Audiences column appears.
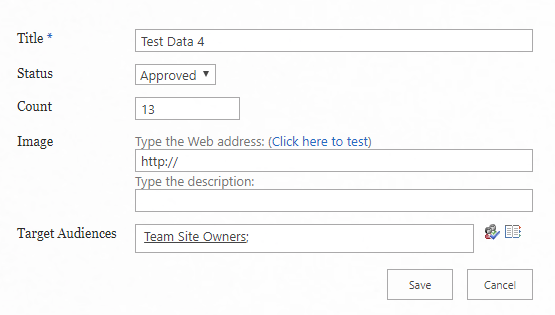
- Specify the target audience on the items
After you enable the list or library for audience targeting, you can set individual items in the list or library to be displayed to one or more audiences.
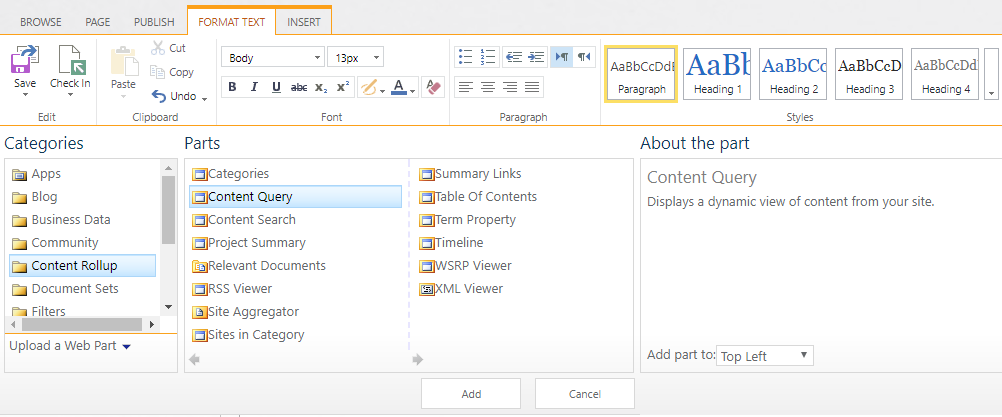
- Display the item in a Content Query Web Part for SharePoint 2013
The Content Query Web Part allows you to build a query that can filter list and library items.- Create web part page and add the Content query web part.
- Click the down arrow Web Part edit down arrow on the right of the web part, and then click Edit Web Part on the menu.
- Under Query in the tool pane, do the following

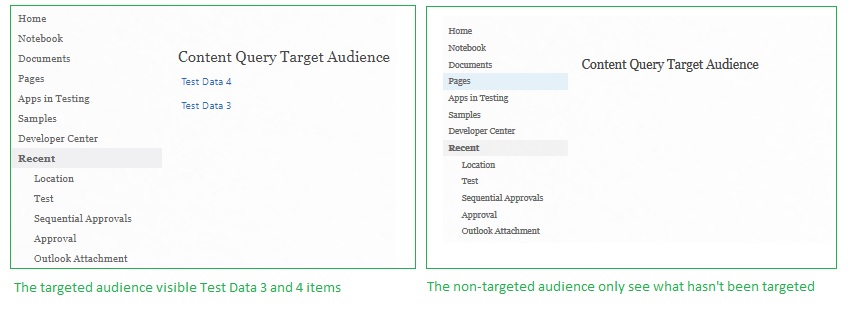
Apply Audience Filtering checkbox. This is required for the query to work properly.
Select the Include items that are not targeted check box. This is optional. - When the page is rendered, the Test list items are seen only to the people who are members of the audiences you specified.
- Create web part page and add the Content query web part.
- Enable audience targeting on the list or library
Limitations of Target Audience:
- One of the main limitations is we can’t directly use the username. We must rely on SP group, global audience or distribution/security groups.
- To target a list item, for example, you must enable audience targeting on the list, specify the audience on the item and item has unique permission then present the item in a web part, usually a Content Query Web Part somewhat difficult to manage.
- There is no good way to control the number of items returned in a content query web part when target audiences are applied.