An Image Renditions is another great feature in SharePoint 2013 where we actually deal with images in site collection, we handle actual renditions of images, improve the user experience of your website by optimizing images.
Using Image Renditions you can have original (large) images stored in your site collection and then define a number of scaled variants to be used throughout the site. With this feature we define different template with width, height and use it in different scenario in SharePoint.
To minimize the performance impact caused by dynamically rendering images, the Image Renditions capability depends on the BLOB cache which caches generated renditions. For this mechanism we have to enable the BLOB cache for your Web Application in web.config.
|
1 |
<BlobCache location="C:\BlobCache\14" path="\.(gif|jpg|jpeg|jpe|jfif|bmp|dib|tif|tiff|ico|png|wdp|hdp|css|js|asf|avi|flv|m4v|mov|mp3|mp4|mpeg|mpg|rm|rmvb|wma|wmv)$" maxSize="10" enabled="false" /> |
… to this:
|
1 |
<BlobCache location="C:\BlobCache\14" path="\.(gif|jpg|jpeg|jpe|jfif|bmp|dib|tif|tiff|ico|png|wdp|hdp|css|js|asf|avi|flv|m4v|mov|mp3|mp4|mpeg|mpg|rm|rmvb|wma|wmv)$" maxSize="10" enabled="true" /> |
If you look closely, you’ll see that the only difference between the two XML elements is that the enabled attribute is changed from false to true.
Note: If BLOB is not enabled then we can not access ‘Image Renditions’ under ‘Look and Feel’ . For this SharePoint Site should be either created from a Publishing Template or has Publishing Feature enabled.
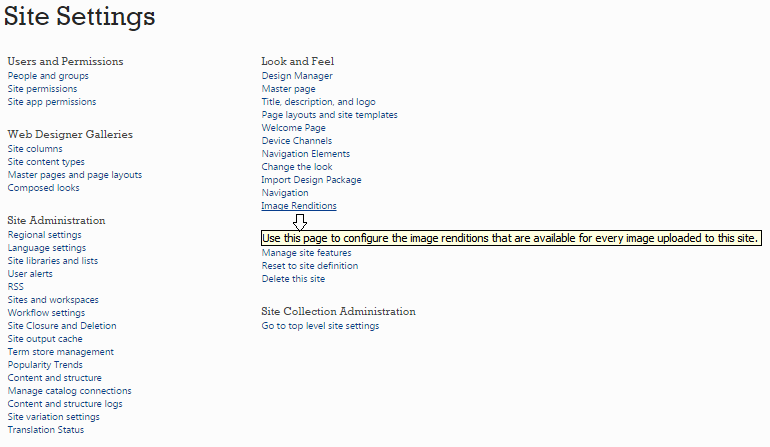
By default there are already a few renditions defined shown in below
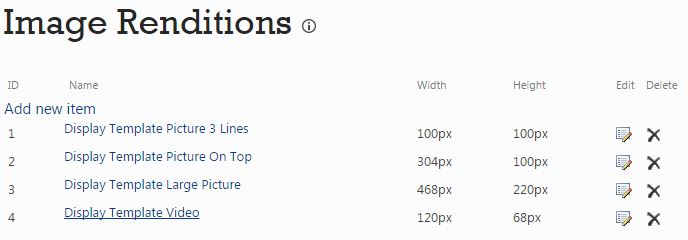
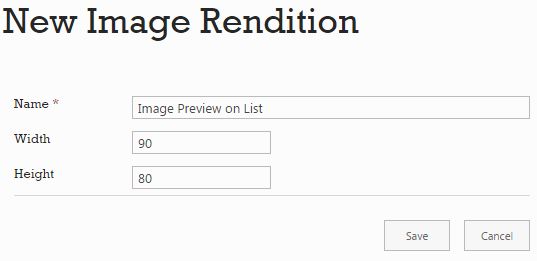
but you can also define your own custom renditions by clicking Add new item.
Below are different scaled variants using Image Renditions.
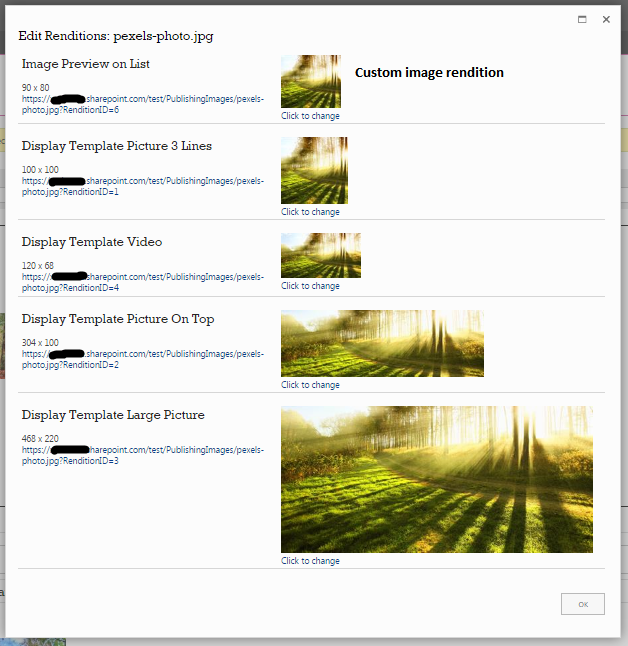
How to use custom renditions in SharePoint 2013?
- Create site column.
- from Site settings click on Site column under Web Designer Galleries
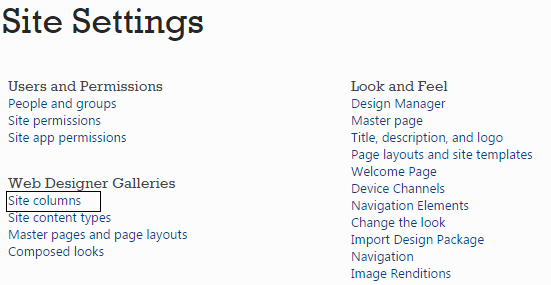
- click on “create” button on Site Columns Page and create a Site Column with data type “Image with formatting and constraints for publishing“.

Newly created site column ‘ImageRendition’ is categories under Custom Columns group.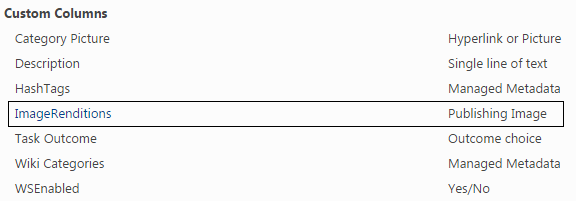
- from Site settings click on Site column under Web Designer Galleries
- Configure site column ‘ImageRendition’ in your custom list.
- Navigate List setting of respective list. Click on ‘Add from existing site columns’ under Columns section.
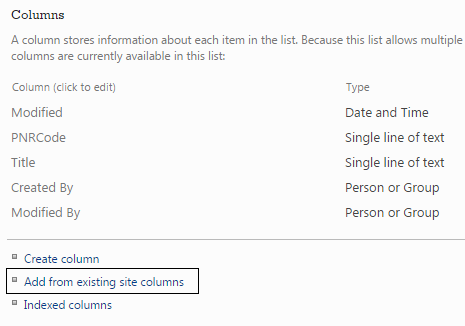
- Select Custom Columns under this you will see ‘ImageRendition‘ column now add this.
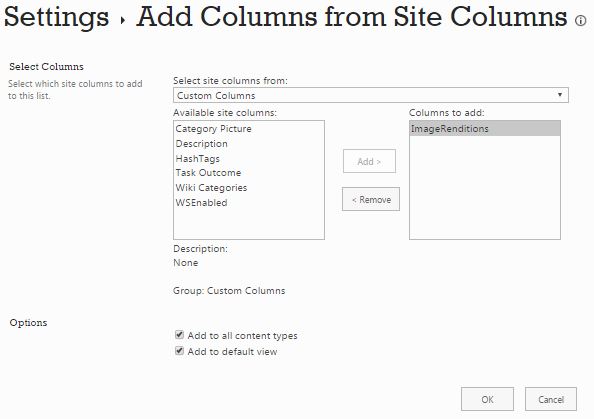
- Navigate List setting of respective list. Click on ‘Add from existing site columns’ under Columns section.
- Now create new list item to view ImageRenditions Site Column. Click on insert a picture from SharePoint. Select any “Template” from Image Renditions drop down here I select custom one ‘Image Preview on List’ after that select specific image from image library (Or from other resource) and click on OK.

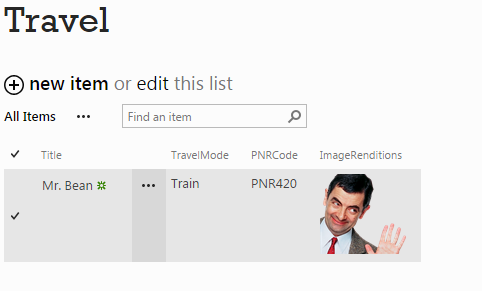
- Now you can notice the Image is uploaded with the size that was Chosen in Image Rendition Display Template (90 x 80 in my case).
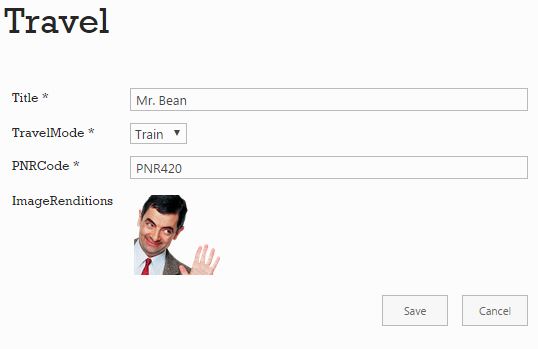
- Click on Save button and item looks like below.
