In the first post of this series, I introduced SharePoint Migration Tools Comparison Matrix between SharePoint Migration Tool Vs Sharegate Vs Metalogix.
In this article, we will discuss the SharePoint Migration Tool powered by Microsoft. The good part of this tool is, it is Free and you don’t need to be global admin or a SharePoint admin in Office 365 to use SPMT ( SharePoint Migration Tool ) just you need a SharePoint Online Site URL and that login details. It’s too simple and Microsoft is working on to make better.
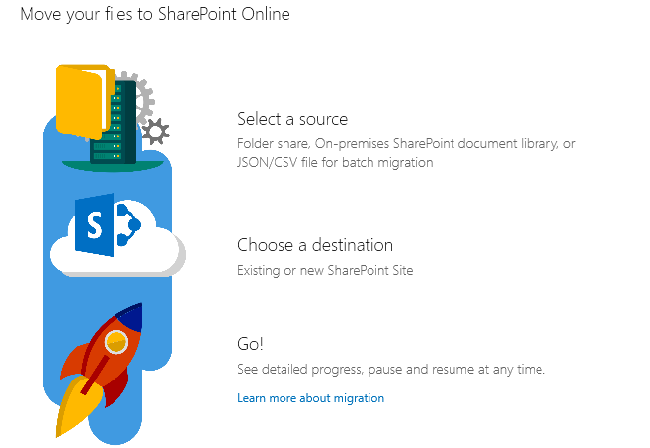
The SharePoint Migration Tool lets you migrate lists or files from your SharePoint on-premises document libraries or from your on-premises file shares and easily move them to either SharePoint or OneDrive in Office 365. It is available to Office 365 users. The tool runs in the background without impacting your production environment and it also generates reports to help you fix any issues that were discovered.
SPMT uses SharePoint Online Migration API, SharePoint Online Migration API is the use of an Azure container for temporary storage. The cost of an Azure container is now free. You can choose file Shares, your on-premises SharePoint 2013, or a CSV file as the source. Then, select a SharePoint Site or OneDrive in Office 365 as your destination.
Download link: https://hrcppestorageprod.blob.core.windows.net/migrationtool/default.htm
How to use the Microsoft SharePoint Migration Tool?
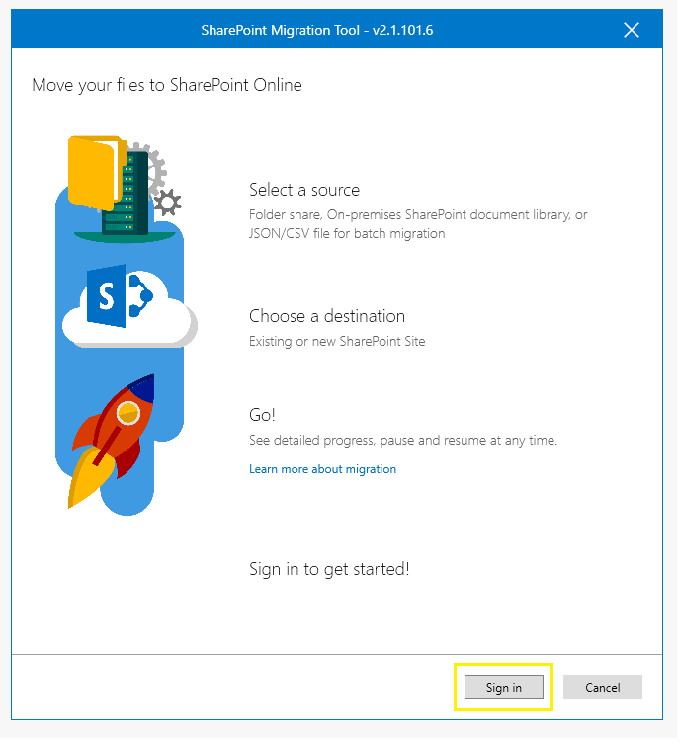
- To begin with, please use the above link to download and install the SPMT. I assume you install the SPMT, now open the tool.you would get the below screen. I am using SPMT version 2.1.101.6. Please go ahead and click on Sign button.
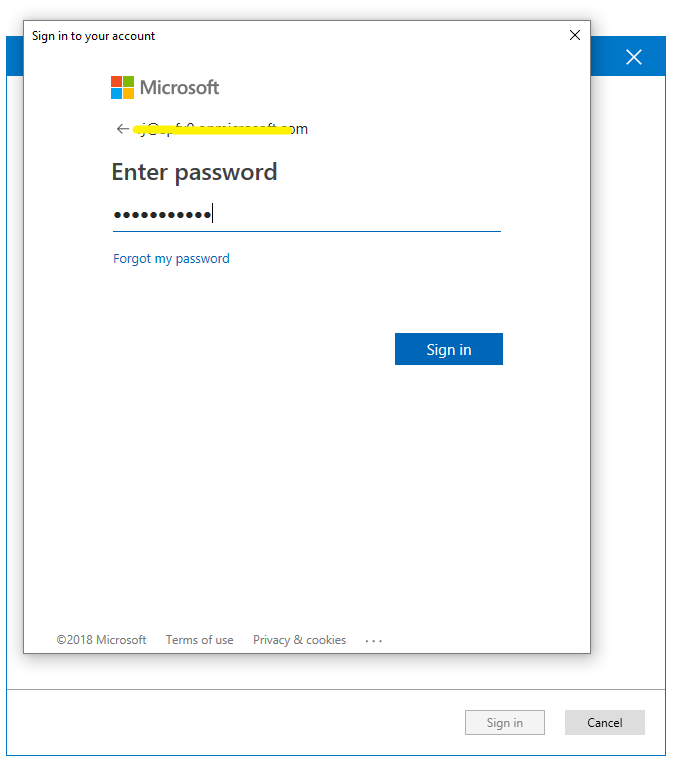
- An Office 365 login pop will open enter your Office credentials username and password.
- Once done entering your credentials, you will see below the screen with three options SharePoint on-premises SharePoint 2013, File Share and JSON or CSV file as the source.
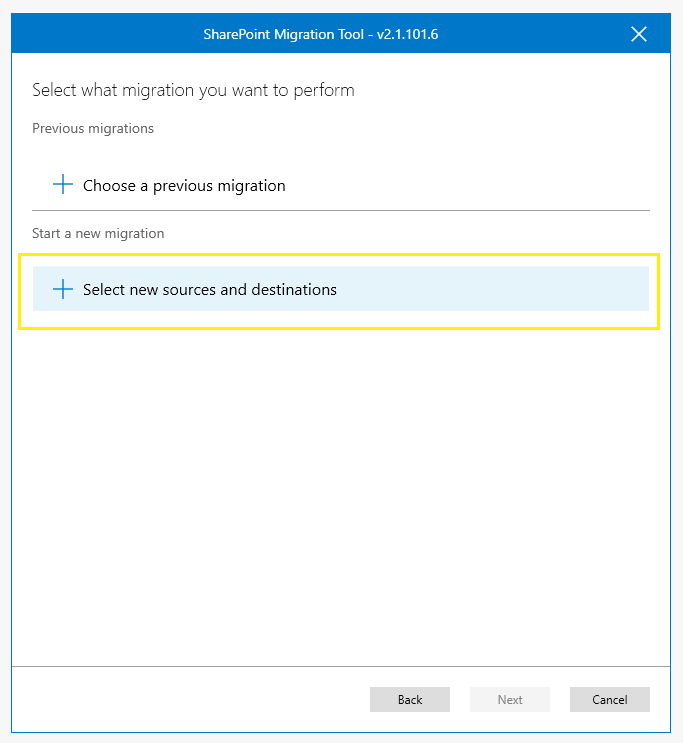

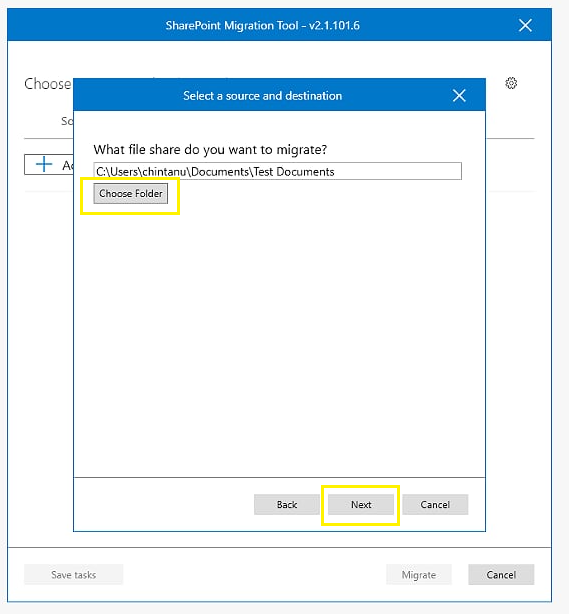
- In this article, I will show you how to migrate the data from a “File Share” to a “SharePoint Online site” hence I choose file share options. Start a new migration with choosing “Select new sources and destinations” and choose the folder from your computer and click on next button.
- In this screen add your SharePoint site URL, it will get all the document library of the site, choose your destination folder and click on Add button.

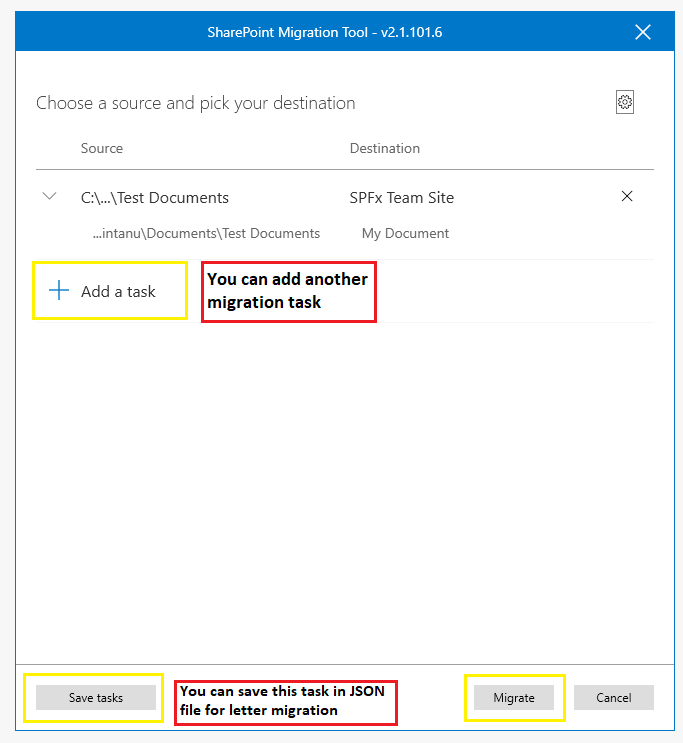
- Once you have done with adding both the source and destination, you can perform different and multiple tasks with repeating the above steps by clicking on “Add a task” button, but now I will migrate only one task. Click on the migrate button. Save tasks will save all task in Json file format.
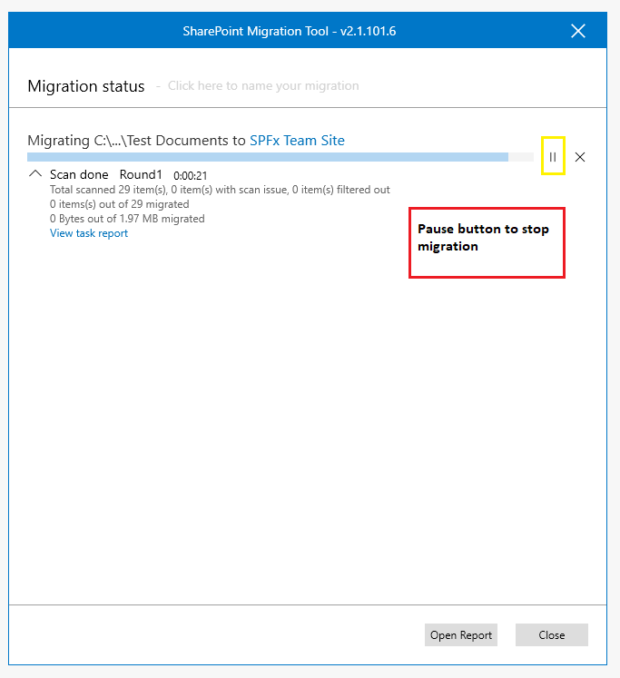
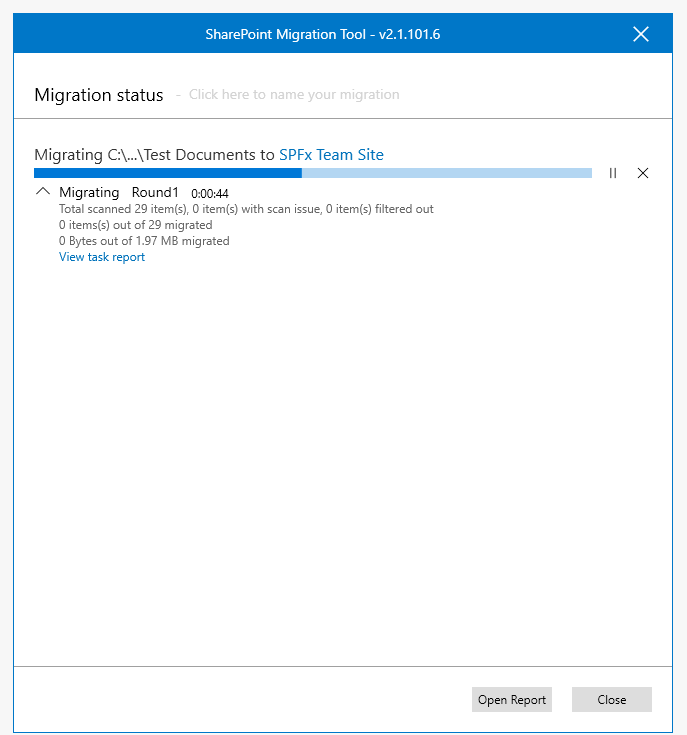
- Once you click on the “Migrate” button migration process will start. You can also use the pause button to pause the process. The migration process first scan the migrating items/files, second, it will migrate the items and the third image shows migration has completed.

- After migration finishes, click on “Open report” it opens in windows explorer where you can access the migration reports with other reports.

- Summary Migration report looks like in below image with Status, Size, destination columns etc.


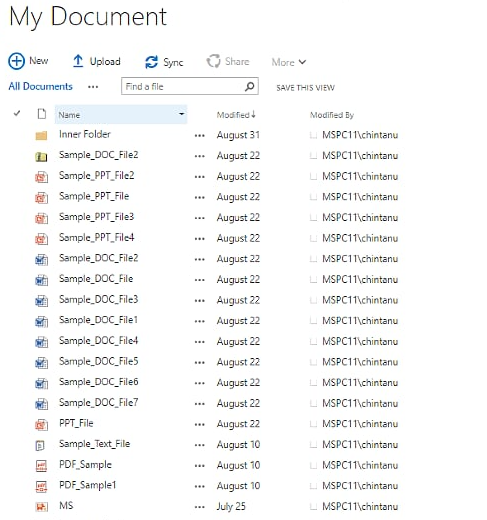
- Finally, you can check the migrated file in your destination folder.
Advanced settings in the Microsoft SharePoint Migration Tool:
SharePoint Migration tool has some setting using this you can perform the below-mentioned tasks. It will appear after 365 logins by clicking on the top right gear icon.


Let’s focus the advanced settings of SPMT.
- Only perform scanning:- If you wish to scan the files as a pre-assessment to migration, turn Only perform scanning on, If you enable this setting it will show depended setting “Start migration automatically when no scan issue found” if you make off migration will pause once scanning done.
- Enable incremental migration:- The default setting is On. If you wish to be able to submit the same job again for incremental migration, this setting must be set to On * before * the initial migration job is submitted. Otherwise, it will show in previous migration list but it will not migrate it will just perform the scan.
- Migrate all site fields and Content types:- The default setting is On. It will migrate the site fields and content type. traditional “Save list as template“dont move content type for that we need PowerShell.
- Migrate file version history:- If set to Off, only the most recent version of the file will be migrated. If set to On, you can choose whether to keep all versions or limit it to a specific number
- Keep all Versions:- Depended on the setting of Migrate file version history, if Keep all versions on it will keep all version of documents
- Migrate file version history:- If set on it will migrate hidden files of the folder
- Migrate files created before:- migrate those file which is created before the given date
- Migrate files modified before:- migrate those file which is modified before the given date
- Skip files with these extensions:- To prevent certain file types from migrating, list each extension, separating it with a “:” (colon) bar. For example, js:css:mkv.
- Migrate files and folders with invalid characters:- By default, the setting is set to Off. This is the recommended setting.if any file can’t be accepted into SPO, a failure message will be generated for that file.
- Migrate OneNote folder as OneNote notebook:- By default, this is set to Off. When set to Off, OneNote folders will not migrate over as a notebook.
- Azure Active Directory lookup:- By default, this is set to On. If no User mapping file is provided by the user, then the Azure Active Directory is used as the default for user mapping. Azure Active Directory (Azure AD), a tenant is a dedicated instance of an Azure AD directory that your organization receives when it signs up for a Microsoft cloud service such as Azure or Office 365.
- Preserve user permissions from SP server migration:- By default, this is set to On. If set to Off, no permissions will be preserved.
- Preserve user permissions for file share migration:- By default, this is set to On. If set to Off, no permissions will be preserved.
- Skip list with audience targeting enabled:- By default, this is set to On. When set to On, SharePoint on-premises lists with audience targeting enabled will be paused and the user will be prompted for confirmation before continuing.
- User mapping file:- When migrating your data from either a local file share or an on-premises SharePoint Server document library using the SharePoint Online Migration tool, a default user mapping file is used. You can also create your own user mapping file read this article.
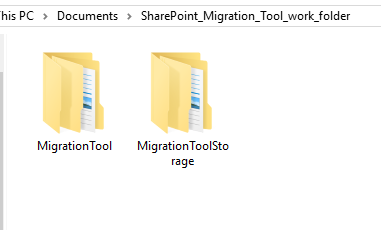
- SharePoint Migration Tool work folder:- By default, a temp folder will be created. If you wish to specify a specific working folder, enter the name here. Note: By default, the working folder is %appdata%\Microsoft\MigrationTool .
- Use custom Azure storage:- You can use your Azure storage account with Azure account and Azure key. Azure Storage is the cloud storage solution for modern applications.

As of now, the product is in beta version and Microsoft is continuously working on enhancing the tool by adding many cool features which you normally get to see on any third party migration tool such as Sharegate, Metalogix or AvePoint. We expect that Microsoft will add new features to the Migration Tool and support more cases in the future.
To know more about SharePoint migration tools comparison read SharePoint Migration Tools Comparison Matrix between SharePoint Migration Tool Vs Sharegate Vs Metalogix .
Resource Url: How to use the SharePoint Migration Tool
Hope you find it helpful. If you liked this article, then please share and comment. Your comment and suggestion will be greatly appreciated.
Nice article and good define to SharePoint migration with a clear explanation. Thanks for the share!
Nice article with a clear explanation. However, this tool helps us in doing very basic migrations only. To do more advanced migrations we can use tools like Saketa Sharepoint Migration Tool.. etc.. it will be awesome if Microsoft adds such features in their tool also.
Thank you Mike for your appreciation. Yeah, MS working to make a better Migration tool.